Remember the other day when I mentioned that I was totally overwhelmed and frustrated because I wanted to craft but just didn’t have the time (among a lot of other things)? Well, that same day in a fit of frustration I scrolled through my zillions of craft ideas that I keep on my computer, picked one, and went to Joann’s.
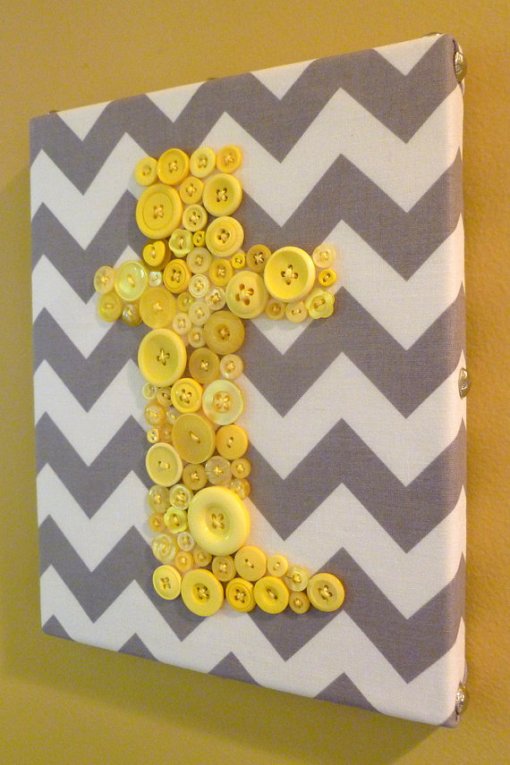
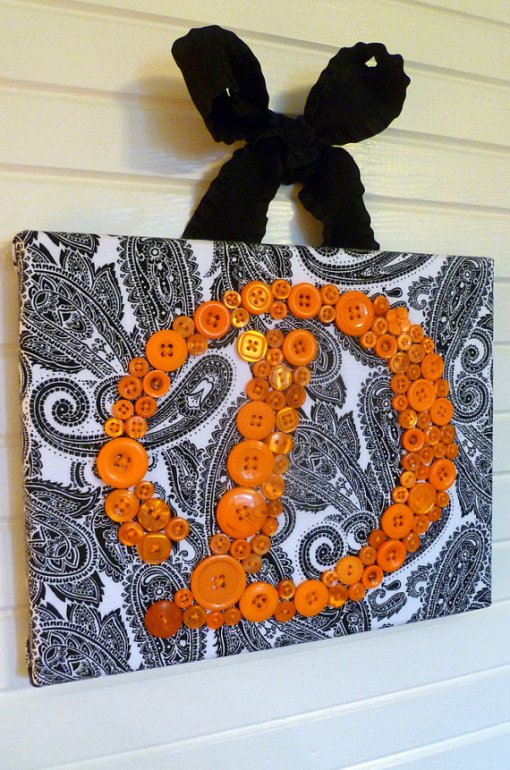
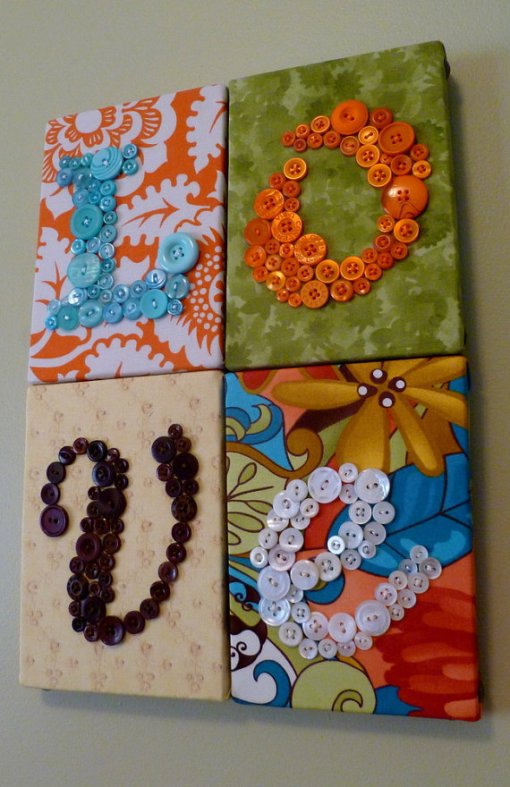
This is my inspiration photo:
Peggy, the amazing creator of this fabulous image, has other amazing letters available at her Etsy shop.
Here are some of my favorites:
I have a secret for you though… I have NO IDEA how to sew on a button. Sad huh? Fortunately since these little buttons don’t have to be functional in any way I didn’t need to know how to actually sew one on.
So, here’s what I picked up from Joann’s:
- Pre-stretched canvas (8×10)
- Fabric – I purchased 1/3 yard (you’ll need to adjust this depending on the size of your canvas)
- Buttons – I chose red because they popped but you can choose whatever color you like best with your fabric, the buttons need to be in varying sizes (note: I also used some large matching beads because my letter had some really skinny parts and I couldn’t find buttons that small)
- Embroidery hoop
- Embroidery thread in a matching color (should match the color of your buttons)
Here’d what I needed from my stash at home:
- Staple gun
- Printed letter (using your computer and Microsoft Word size your paper to the size of your canvas, choose a font that you like and make it as large as possible, print)
- Scissors
- Straight pins
Instructions:
- Cut out your letter very carefully
- Pin your letter to your fabric
- Place embroidery hoop over fabric and letter. You should have this…
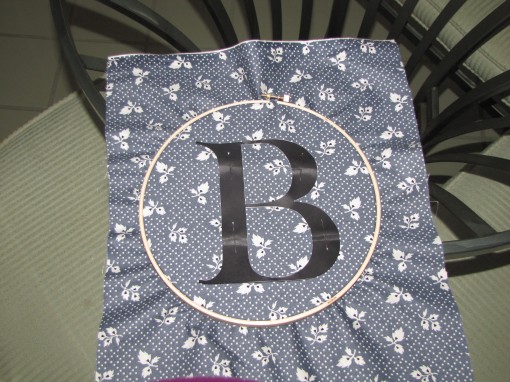
- Begin placing buttons however they look best to you – you’ll do this by threading your needle, tying a knot in the end, then bringing the thread up through the ‘bottom’ of the fabric, through one button hole, then down through another. If there are four holes in your button, repeat this step.
- Keep repeating until your letter is covered with buttons
- To remove the paper letter – use small scissors and tweezers to cut and remove the pieces underneath the buttons. Be very careful not to cut your thread or fabric.
(note: this is a very difficult way of doing this, if you want, instead of pinning your paper letter to your fabric you can use an erasable fabric marker to trace your letter onto your fabric. However, please note that your creation will have to be washed in order to remove the ink. You will need to adhere your buttons accordingly.) - Once complete, carefully center your fabric onto your canvas (you can use some spray adhesive to keep it steady if you want). Flip it over and use your staple gun to adhere the fabric to the back. Make sure you’re stapling into the wooden frame.
- You’re done! Admire your handiwork!
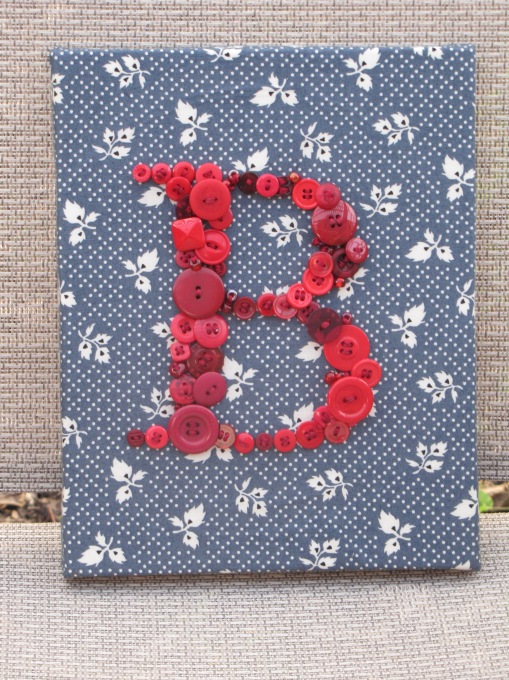
Here’s my finished product:
It has sort of a 4th of July feel to it doesn’t it? I wasn’t actually going for that but it works out well considering Independence Day will be here sooner than we know it. We actually don’t have any blue or red in our house so this’ll make for some fun holiday decoration for us. I’m hoping to try this again in some different colors.
Now, my finished project in no way looks as amazing as Peggy’s finished products but then again, I’m not selling mine or giving it away as a gift to anyone. I’m just glad I finally made something crafty. Yay!
I’ve linked up to these great parties:



This is such a cute idea. I think I have two in mind already to give as christmas presents.
Aww thanks! I’m really glad you liked it! I love how easy it is to personalize! Make sure you send me pictures of what you create. I’d love to see it!
I have made these too, but I used glue instead of sewing them to the canvas.
Pingback: Tuesday Talent Show #51 | chef in training
Pingback: Happy Birthday to Me! « changingmymarbles
Pingback: And then… sometimes… God hits you upside the head with a 2×4 « changingmymarbles
Pingback: 2012 Wrap Up « changingmymarbles
Pingback: 2013 « changingmymarbles
Pingback: How To Make A Button Monogram - I Love DIY
Pingback: Button Monogram Wall Art!
Why couldn’t you just glue them?
I guess you could if you could find a glue with good long term sticking power. Hot glue, for example, wouldn’t be a long lasting option.
I prefer sewing them in because once they’re on those suckers aren’t going anywhere!
Pingback: The buttons among us | Creative Home Ideas
Pingback: How To Make A Button Monogram
Pingback: How To Make A Button Monogram | DIY Cozy Home
Pingback: How To Make A Button Monogram
Pingback: How To Make A Button Monogram | Content inspirations
Pingback: How To Make A Button Monogram | Diy & Crafts
Pingback: LA Rug Somethin 'Fishy Rug 19 "x29" - Choose My Room
Pingback: How To Make A Button Monogram | Health Daily Artile
What size was letter and approx how many buttons? Using yours as inspiration
I honestly couldn’t say how many buttons. The finished letter is about 6-8” tall.
One way to adhere the paper letter without having to carefully cut it later is to draw it backwards on the back of the fabric. Work over a small desk lamp so you can shine the light through the fabric. This way you don’t have to carefully cut it away in the end.
Great idea!
Pingback: DIY Button Monogram Art Tutorial | Home Design, Garden & Architecture Blog Magazine
Pingback: DIY Button Monogram Art Tutorial - Creative Fingers - Proiecte DIY, idei creative pentru decoratiuni casa si gradina
Pingback: DIY botón monograma arte tutorial | diseño para el hogar
Pingback: DIY botón monograma arte tutorial | diseño para el hogar
Pingback: How To Make Canvas Art With Buttons | DIY Tag
Pingback: How To Make Canvas Art With Buttons | Do It Yourself Solutions
Pingback: How To Make Canvas Art With Buttons - DIY Instructions
Why do you need to cut the letter out? If you are going to tear the paper away anyway, couldn’t you just leave it as is from the printer and tear it all away when done sewing buttons?
Pingback: Friday File 17 | Healthy Simplicity
Pingback: DIY Button Monogram Art Tutorial
Pingback: Would love to do this for baby girls gallery wall... - Home's Decor's DIY
Pingback: Shabby Chic Monograms - Shabby Chic Nursery Decorating
Pingback: 30+ DIY Letter Ideas & Tutorials - Hative
Pingback: How to make a little somethin’ somethin’ with buttons… – colleen339
Pingback: Awesome DIY Letter Projects - DIYCraftsGuru
Pingback: 15 Creative DIY Ideas You Can Make At Home By Using Buttons | homedesignfind
Pingback: 15 Creative DIY Ideas You Can Make At Home By Using Buttons - The Veranda of ideas
Pingback: Telling Tuesday’s – Buttons – Family Bugs Blogging
Pingback: How To Make A Button Monogram – carriecorsondesign.com
Pingback: 25 Creative DIY Ideas and Tutorials to Make Decorative Letters - Crafts Booming
Pingback: 15 DIY Gifts For Mom – M&J Blog